Though some skill is required to consistently strike quality flakes, the basic technique is quite simple and is easily mastered. All that is required is an understanding of the previously discussed cone principles. By understanding the cone fracture principle, it is possible to visualize how flakes are removed in a direction different from the angle of applied force. Sound difficult? It isn’t; just follow these three easy steps:
Visualize a desirable flake.
Imagine that flake as a cone section.
The correct striking angle now becomes readily apparent (figure 2).
To strike flakes, use a hammerstone of sandstone, coarse-grained granite, or similar material. Hammerstones should be free of cracks to prevent breakage during use, and they should be of appropriate size to be easily wielded in one hand.
Almost any flake will suffice as an emergency survival tool; thus, you needn’t worry about striking perfect flakes with every blow of your hammerstone. Instead, your main concern should be safety. A poorly placed hammerstone blow could shatter the parent stone, which you’ll likely be holding in your hand. If the parent stone does shatter, pieces could fly in all directions. And if you’re supporting the parent stone on a leg (as many knappers do), it’s possible to drive a flake into your leg. Thus the following are minimum safety precautions: gloves, protective goggles, and a thick leather leg pad. When practicing stone-working techniques at home, always use these safety precautions. In a survival situation, however, protective devices are not likely to be available. In which case, proceed with extreme caution, always keeping in mind that there is potential danger.

Figure 2: The three steps of flake striking: 1. Visualize the desired flake, 2. Imagine that flake as a cone section, 3. The correct striking angle is then apparent. (Illustration by Michael R. Seacord from Flintknapping: The Art of Making Stone Tools, reprinted by permission of the author. (Canoga Park: Canyon Publishing Co., 1984)
Striking Blades
A blade is a specialized flake that is more than twice as long as it is wide. Blades make highly functional tools, and unlike a mere flake, they more closely resemble knives in appearance and function. Striking a blade requires no more knowledge than striking a flake; however, a greater degree of skill and control is required. The blades must follow ridges on the parent material, otherwise they will spread out and terminate short. Use a naturally occurring ridge to strike the first blade. Then use the ridge left by the first blade to strike the next, and so on. With a little practice, you should soon be able to acquire a small stockpile of serviceable blades. Just remember to practice the safety precautions outlined above.
Making Hand Axes
Hand axes are easy to manufacture, and they have a host of survival applications. You can use one to cut and shape wood, break a bone to get at the marrow, dig up edible roots, and so on. As was the case with blade manufacture, no additional knowledge is required-all you need is a little more skill. Select a parent cobble of useable material and appropriate size. Strike a flake near one edge of the cobble. Then rotate the cobble 180° so that the fracture you have created faces the hammerstone, and strike again on this new side. Continue this turning and striking until an entire side of the cobble has been flaked. And that’s all there is to it. Assuming the flaking has gone well, you have just created a hand axe with a wavy but strong working edge. But again, please keep in mind the requisite safety precautions.
Grinding Arrowheads
The traditional method for manufacturing arrowheads involves a skill known as pressure flaking. This skill is difficult to master and it requires a pressure flaker (such as antler tine) that may not be available in survival situations. But an alternative method exists. Specifically, highly serviceable arrowheads can be made by grinding them out on a sandstone slab or similar coarse abrader. The grinding method requires no skill and can be accomplished without either instruction or previous experience.
Ground stone arrowheads can be made from most of the traditional knappable minerals (flint, obsidian, jasper, etc.), but grinding works best with softer materials such as jade, turquoise, slate, bone, and sea shell. To get started, all that’s required are some flat pieces of raw material and a grinding slab. If a decent sandstone or granite slab can’t be found, use any smooth slab (even concrete)—these latter can be made more abrasive by sprinkling on a small quantity of sand. To accomplish this technique, simply abrade your raw material back and forth until a desired shape is achieved. Periodically rinse the grinding slab with water to wash away accumulating stone powder and thus speed up the abrading process.
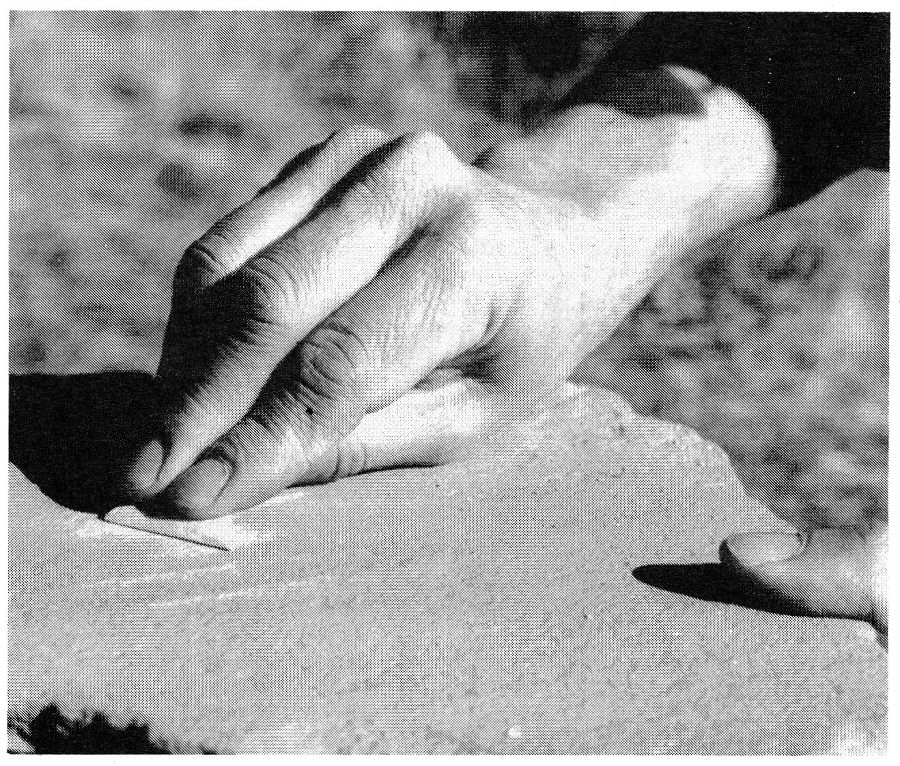
Grinding an arrowhead on a sandstone slab. (Photo: Paul Hellweg)
Once your arrowhead has achieved its rough shape, sharpen its edges on the grinding slab in much the same manner that a knife is sharpened (abrading at about a 20° angle). Finally, give the arrowhead its finished shape by grinding away each corner of its base (using the edge of your grinding slab). The result is a functional and aesthetically pleasing stemmed arrowhead. Once you get the knack, you’ll be able to create several in an hour. These arrowheads—along with a few blade knives and a sturdy hand axe—are all the stone tools you’ll likely ever need.
Ethics
Any flintknapping activity, even the mere striking of a few flakes, has the potential to disrupt our nation’s archaeological history. At some unforeseen future date, an archaeologist might discover the debris left over and mistake it for an aboriginal site. It is thus important that all debris be disposed of in a proper manner. If practicing at home, merely sweep up your residue materials and throw them out with the trash (it’s difficult to imagine that a modern dump could ever be mistaken for an aboriginal site). If you plan to do a lot of practice at home, dig a waste pit in the back yard to accumulate all debris. When the time comes to close the pit, throw in a few coins to date the contents. If flintknapping in the field, dig a similar pit to hold all debris, and date it with a couple of coins before covering.
Artifacts created by modern knappers can also disrupt our archaeological heritage; after changing hands a few times they might someday be mistaken for original specimens. Artifacts should thus be signed and dated, either with pen and ink or through use of a small hand-held electric engraver (available inexpensively at most hardware stores).
Finally, when gathering stone-working materials, make certain that you are not disrupting an existing archaeological site. These few simple precautions will help preserve our archaeological heritage and will go a long way towards reducing potential friction between professional archaeologists and modern knappers.

Samples of arrowheads made by grinding: (left to right) sea shell, jade, and. obsidian. (Photo: Paul Hellweg)
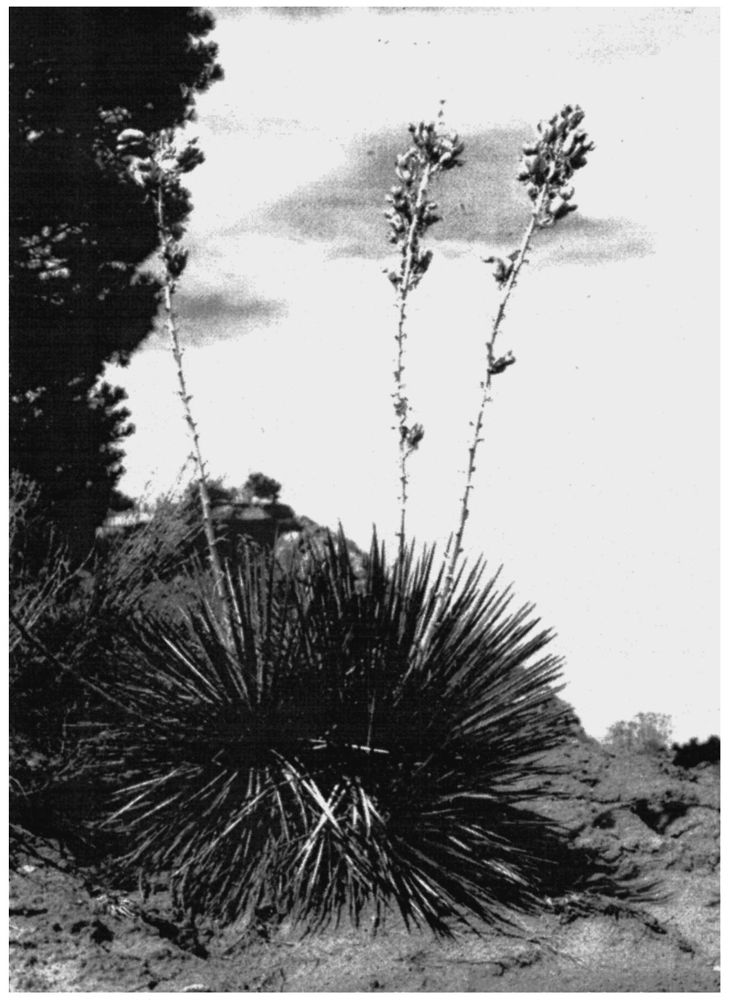
Yucca glauca (Small Soapweed, Spanish Bayonet) grows prolifically on the arid plains and in desert areas of the Rocky Mountains and in most of the Southwestern United States. (Photo by Richard Jamison)