A couple of the projects in this section utilize 5-gallon buckets. Once upon a time, you could find these for free at just about any restaurant or deli. They would have stacks and stacks of them in back, just waiting for someone to give them a home. Nowadays? Not so much. These buckets have become very popular among preppers, survivalists, and even so-called normal people. They aren’t impossible to find, you just need to look harder. Just about any business that serves food will have these buckets at some point or another. They are used to ship a wide range of foods, from pickles to frosting. Check with taverns, bakeries, grocery stores, delis, and restaurants. Some places have taken to selling the buckets on a first-come, first-serve basis. I’ve heard them going for prices as high as $5 per bucket in some places.
Ask around with friends and relatives, as they might know someone who works in a restaurant or deli and could snag an empty bucket or two for you. As you’ll see in the projects to come, the lids are important, too.
GIFT CARD CORDAGE STORAGE
Some form of cordage is an essential component of any survival kit. While it is certainly possible to weave cordage from natural materials, such as plant fibers or strands of inner bark, doing so takes considerable time. A far better solution is to pack several feet of cordage in your kit. The problem with doing so, though, is that it often becomes a tangled mess.
Fortunately, there’s a pretty easy solution.
MATERIALS
Scissors
Old gift card or credit card
Cordage
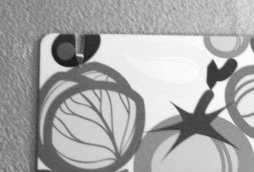
#1Using the scissors, cut a small notch in one end of the card. Place the notch in the long side, near the end of the card.

#2Cut another notch on the opposite side and opposite end of the card.
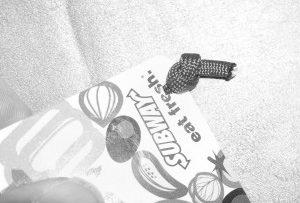
#3Wedge one end of your cordage into a notch, leaving about 1 inch or so free. Tie a knot to help it stay in place.
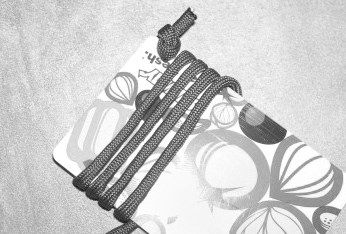
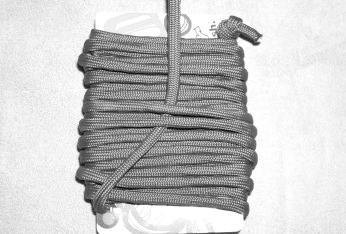
#4Wrap the cordage tightly around the card. Depending upon the thickness of your cordage, you can go up and down the card several times. When the card is full, wedge the cordage into the open notch and cut the cordage 1 inch or so beyond that point. Or you can loop the free end of the cordage through a few of the loops, as shown.
#5The most common cordage used among preppers is, without a doubt, paracord. It is incredibly strong for its size and can be disassembled into several thinner strands. However, as of late, I’ve begun to prefer tarred bank line over paracord in most of my kits. It is thinner than paracord, and while it won’t support 500-plus pounds, it’ll easily handle anything I’ll need it to do. Plus, it doesn’t stretch like paracord. Because it’s thinner, I can pack more of it on a gift card than I can paracord.
#6If you opt for bank line or another rather thin cordage, you don’t need to cut full notches into the card. Instead, just cut small slits.
BUCKET CLOTHES WASHER
With a power outage comes the lack of modern conveniences, like the use of a washing machine. Granted, if the power outage only lasts a day or two, that’s probably not the end of the world. But if it were to become a lengthy situation, well, at some point we’re all going to run out of clean underwear, right? This is a handy little contraption for washing small amounts of clothes. Washing clothes by hand is a labor-intensive process. If you have children, this is a great chore for them. Save it for the first time they tell you they’re bored.
MATERIALS
5-gallon bucket with lid
Drill with hole saw attachment (optional)
Razor knife
Rubber toilet plunger
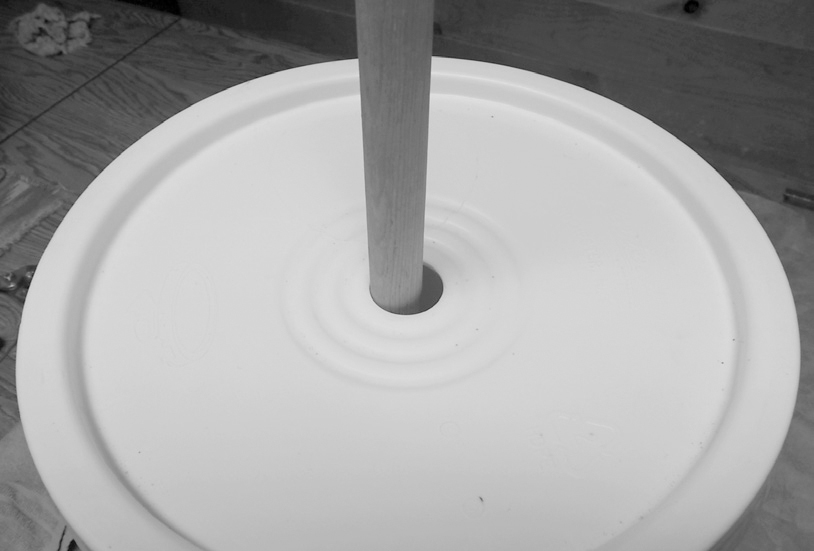
#1Start by cutting a hole in the bucket lid using a drill with a hole saw attachment. If you do not have one, use a razor knife. The hole should be in the center, though that doesn’t have to be exact down to the millimeter. The hole should be slightly larger in diameter than the thickness of the plunger handle. If the hole is too big, you’ll end up splashing water everywhere.
#2Next, use the razor knife to cut 3 to 4 holes in the rubber part of the plunger. The holes should be about as big around as a quarter and evenly spaced around the plunger. These holes aren’t absolutely necessary, though. All they do is allow the plunger to travel through the water a little easier. For reasons that will become obvious, it is best if this plunger is brand new, rather than one you’ve used after Taco Tuesday.
#3To use, simply place a few items of clothing into the bucket, pour in enough water to cover the clothes, and add a bit of detergent. Immerse the plunger and feed the handle through the hole in the lid. Close the lid tight. Work the plunger up and down and side to side. This is your agitator. You don’t need to go hog wild like you’re churning butter, either. A steady rhythm will work better than fast and violent.
#4Check the clothing after a few minutes. If the items still seem dirty, agitate again for a bit. Obviously, the dirtier the clothing, the longer this will take.
#5You’ll need to rinse the clothing before you hang it to dry. You can either use a separate bucket for this or dump out the sudsy water and replace with clean. Don’t just dump the water onto the ground, though. Save it for use in your toilet tank if the water isn’t running.
PORTABLE HEAT
Where I live in the upper Midwest, it gets dangerously cold in the winter. If the furnace goes out for any reason, indoor temperatures plummet. Space heaters and the like work great, provided that electricity is available. This project allows you to heat a small room without the use of electricity or other utility services.
MATERIALS
Several rocks
Metal bucket, such as an ash bucket from a fireplace
Metal tongs or shovel
Cinder block or large patio paver
#1If you have a fireplace or wood stove, you’re already ahead of the game. You should be using it to keep at least one room warm. With this project, you can transfer some of that heat to another room. If you don’t have a fireplace or wood stove, you can use a patio fire pit or even a campfire. Place a few rocks, each about softball size or so, along the base of the fire. Let them absorb heat for 15 to 20 minutes or so, then carefully transfer them to the metal bucket using the metal tongs or shovel.
#2Carry the bucket into a small room, such as a bedroom, and place it on a cinder block or patio paver placed on the floor. You don’t want to place the bucket directly on the floor, as it will surely damage carpets or other flooring materials.
#3The rocks will radiate heat for quite some time. The larger the rocks, the more heat they will absorb and then radiate, but the longer they will also take to heat up. You want to be sure you don’t overload the bucket, as struggling with a load of hot rocks is not advisable.
#4It is also important that the rocks you use are not from a wet source, such as a river bed or lake shore. If they have absorbed water, that water could turn to steam and cause the rocks to crack or even explode. What I’ve done is collect a small pile of rocks from roadsides and such, then placed them outside near my patio. I keep them there as decoration but this also serves to keep them dry.