MATERIALS
Cardboard egg carton
Dryer lint or 12 cotton balls
Melted wax (page 49)
Matches, lighter, or spark
#1Open the empty cardboard egg carton and fill each of the little egg holders with lint or cotton balls.

#2Then, pour melted wax over each of them, completely covering the lint or cotton balls. Once the wax has cooled and hardened, break the carton up into individual sections.
#3To use, tear open one side of the cardboard section, exposing the fiber inside. Light the cotton or lint with a match, lighter, or spark.
#4It is important to note that only lint from natural fiber clothing, such as cotton, will work. If you wear a lot of man-made fabrics, you’ll need to get lint from another source. A package of cotton balls is incredibly cheap, though.
#5As you’ll find out, these are actually rather heavy, and for that reason I tend to use them just for around the house rather than in my survival kits. They work great for getting a fire going in the fireplace or wood stove.
SELF-IGNITING FIRE STARTER
Like Fire Straws (page 58), this is a waterproof fire starter. Even better, this one incorporates an ignition device, making it sort of a one-stop-shop when it comes to getting a fire going quickly.
MATERIALS
A few feet of toilet paper
Strike anywhere matches
Melted wax (page 49)
Pliers
Sheet of waxed paper or newspaper
#1Start by tearing the toilet paper into individual squares, then tearing each of those in half.
#2Take two of the strike anywhere matches, hold them together, and slip one end of a toilet paper half between them. Wrap the toilet paper around the matches, keeping the top edge just below the heads of the matches.
#3Using a pair of pliers or a similar tool, dip one end of the wrapped bundle into the melted wax, as far as you can go. Place the bundle on waxed paper or newspaper to cool. Once the waxed bundle has hardened, which only takes 1 to 2 minutes, dip the other end into the melted wax, completely covering the entire bundle, and let it dry.
#4To use, rub some of the wax off of the match head and strike as you normally would. As the match lights, it will ignite both the toilet paper and the wax, burning for a few minutes with a high, hot flame.
#5It is vitally important to use strike anywhere matches with this project. Anything else will lead to less than optimum results. Also, avoid using matches that have been previously treated in some way to make them waterproof. Just plain old strike anywhere matches are best for this project.
#6I have found that sometimes the wax doesn’t want to adhere to the match heads. A quick fix is to wrap the toilet paper so it covers the heads before dunking the matches into the wax. When you use the fire starter, just peel that bit away from the heads and you should be good to go.
COTTON PAD FIRE STARTER
Cotton pads are sometimes called makeup removers or something similar. They are basically a flattened-out cotton ball, but with a little more substance. They might be a bit more expensive than cotton balls, but are still incredibly cheap. Because the resulting fire starters are flat, they store very well in an Altoids tin or similar container.
MATERIALS
Melted wax (page 49)
Cotton pads
Pliers
Sheet of waxed paper or aluminum foil
Your choice of ignition device
#1Once the wax is melted, use pliers or a similar tool to dip the cotton pads into the wax, covering each pad about halfway or so. Set them on wax paper, aluminum foil or a paper plate to cool, then dip the other side of the pads, covering them completely with wax.
#2To use, simply crack one in half, exposing the cotton fluff inside. Light the cotton with your choice of ignition device and you’re off to the races!
FIRE STRAWS
Most of us visit fast food restaurants far more often than we should. Next time you finish gulping down your burger and fries, don’t throw away the straw from your soda or shake. While you could just buy a box of plastic straws at the store, I’ve found that the ones you get at most fast food joints tend to be a bit larger, which makes this project a little easier. Fire straws, when assembled properly, are 100 percent waterproof.
MATERIALS
Scissors
Plastic drinking straws
Ignition device and candle
Pliers
Dryer lint or cotton balls
Petroleum jelly
Small plastic sandwich bag
Toothpicks
Match, butane lighter, or spark
#1With a pair of scissors, cut the straws into halves or thirds. The length is a matter of personal preference. I like them short enough to fit into an Altoids tin. Next, light the candle and hold one end of each cut straw 1 to 2 inches from the flame. When the straw begins to soften, crimp it closed with the pliers.

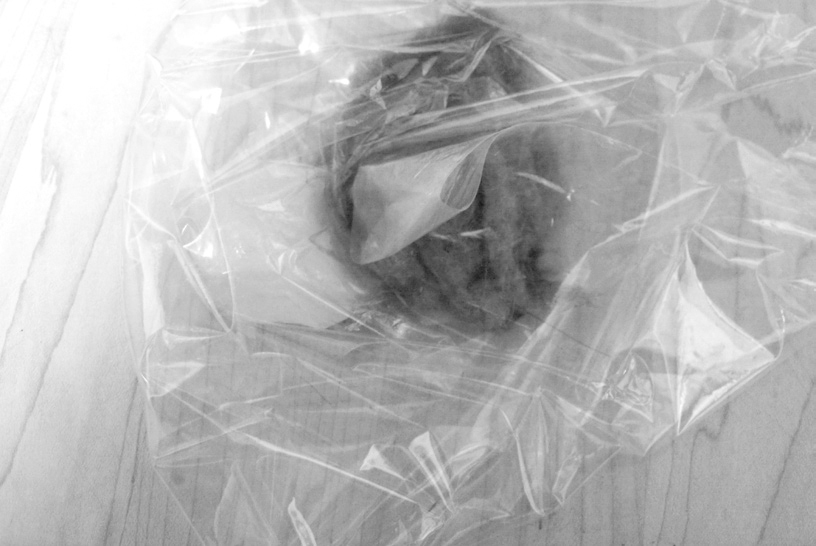
#2Put the lint or cotton balls into a small plastic sandwich bag and add a dollop of petroleum jelly. Close the bag and mash the jelly and lint together. You want the fibers thoroughly soaked.
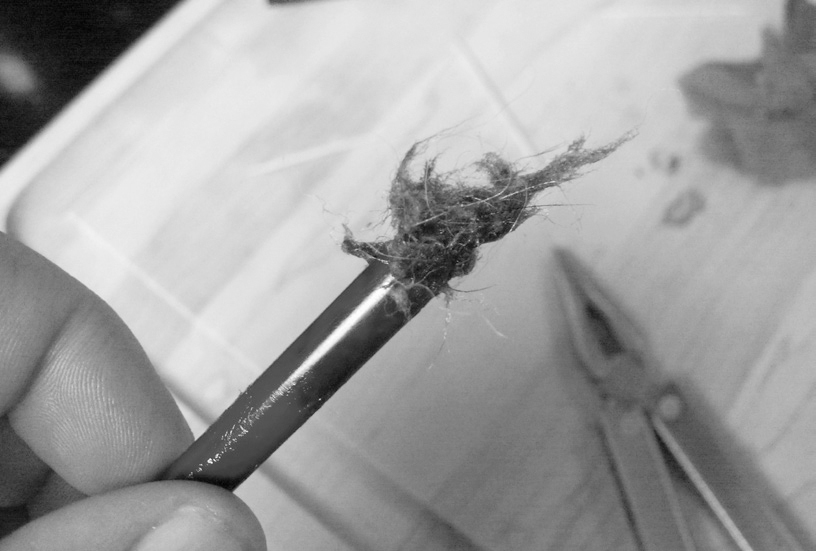
#3Stuff the now-slimy fibers into the open end of the straws, using the toothpicks to pack it in. Leave about ½ inch of space at the open end of each straw.

#4Once all of the straws are filled, seal them the same way you did at the outset.

#5To use, slit the side of a fire straw and pull out some of the fibers. Light them with a match, butane lighter, or spark. As the fibers burn, the plastic will ignite as well. While there may be a slight offending smell from the burning plastic, it lasts only a few minutes. Remember, we’re talking survival here. As long as you don’t lean down and directly inhale the fumes, you’ll be just fine.
FIRE FROM ELECTRICITY
This fire starter has become somewhat well-known, but I’m including it here for those who may not have seen it yet. It is quite cool, actually, and kids in particular seem to get a kick out of it.
While any battery will work, many prefer to use a 9-volt, as it has both positive and negative terminals at the top of the battery, making things easy.
MATERIALS
Battery
Extra-fine steel wool